Don’t just pan. Pan for gold. Space gives your sound clarity. It makes sure that none of your instruments are fighting and gives your sound width.
There’s one thing that all good music has in common: space.
But getting width and space in your mix can be complicated. Luckily there’s a simple way to get clarity and space in your mix instantly—And it’s often overlooked.
Panning.
Here’s the basics you need to know about panning. Use them to give your mix the huge space and clarity that it didn’t have before.
The Lows are Your Center
Every good mix has a core. The center of your stereo image needs to be your core. But what do you keep in the center?
The best way to give your mix a solid core is to keep lower frequency sounds in the center. That means kicks, basses and anything else below the 120hz range.
If your track has lead vocals pan them center as well. Experiment with panning duplicates of effected vocals to the left or right.
But as a general rule lead vocals should always be panned center.
Pan Hard or Go Home
Don’t be afraid to hard pan your sounds when you’re first starting out.
One mistake I used to always make was soft panning. I’d pan, but not enough. I’d just put a track slightly to the left or the right. I just wasn’t good enough to find a pocket for everything.
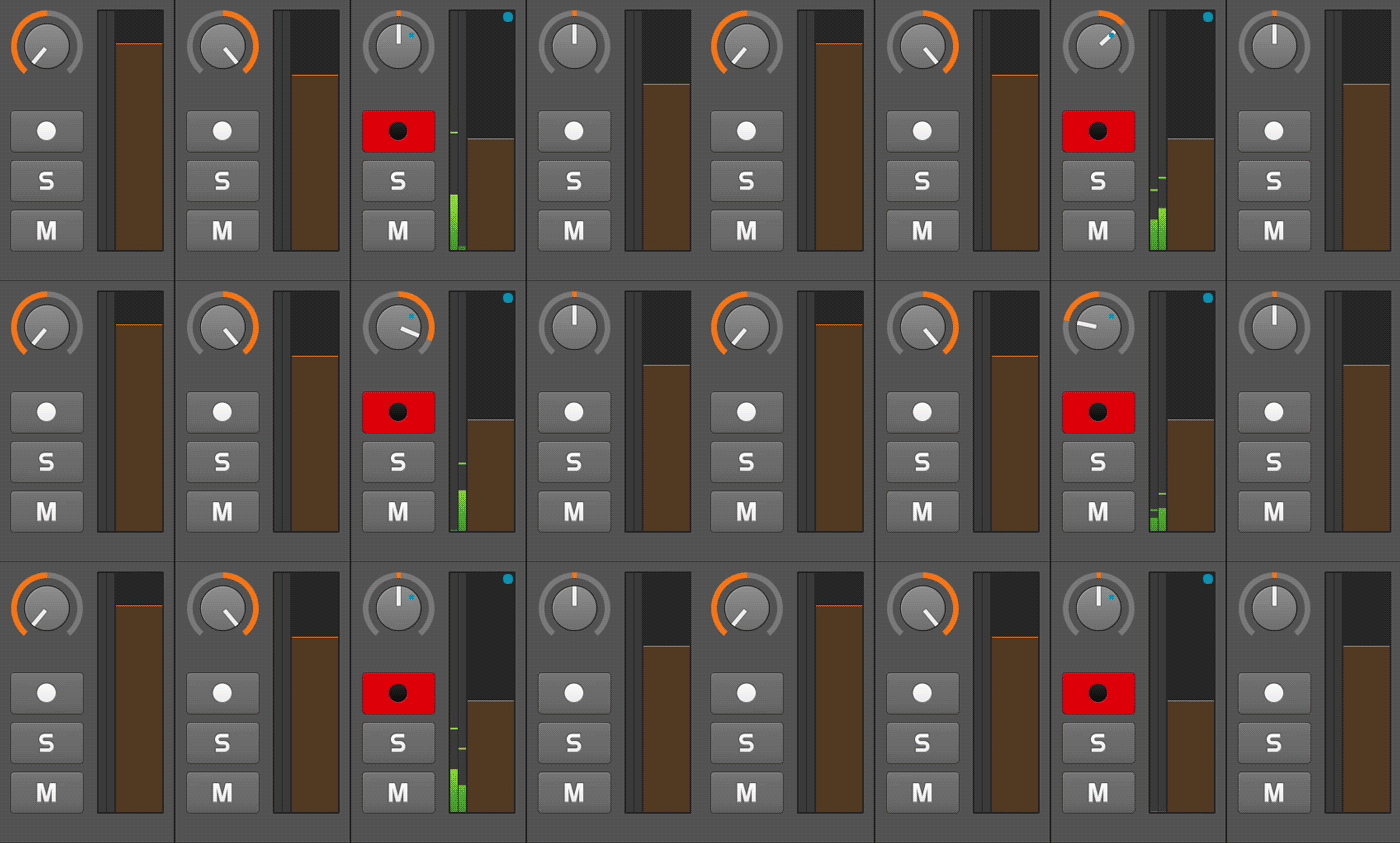
It’s an easy mistake to make and it ends up cluttering your mix even more. Commit to your pans. Hard pan and put your sounds to the left, right, or center.
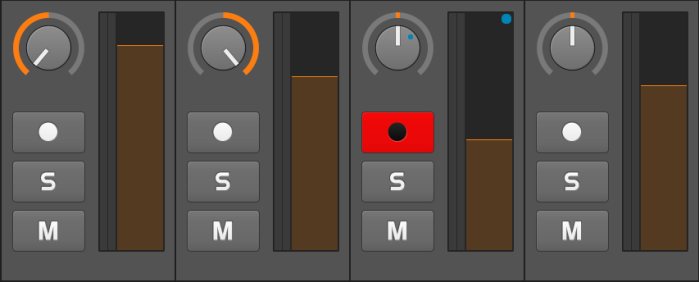
Hard panning is a good place to start.Try some hard pans to give your mix instant space and room to breath.
But once you understand where everything is sitting, you can experiment with the other space.
What’s The Frequency, Kenneth?
Panning seems pretty simple so far right? Good. Now it’s time to figure out what sounds to put on which side.
So you have all your low sounds in the center right? Let’s put some of the other sounds on the left and right.
If you have two sounds that are fighting for space in the same frequency, then pan one to the left and one to the right.
For example: if you have a synth part that is getting lost in a piano track, hard pan the synth left and the piano to the right.
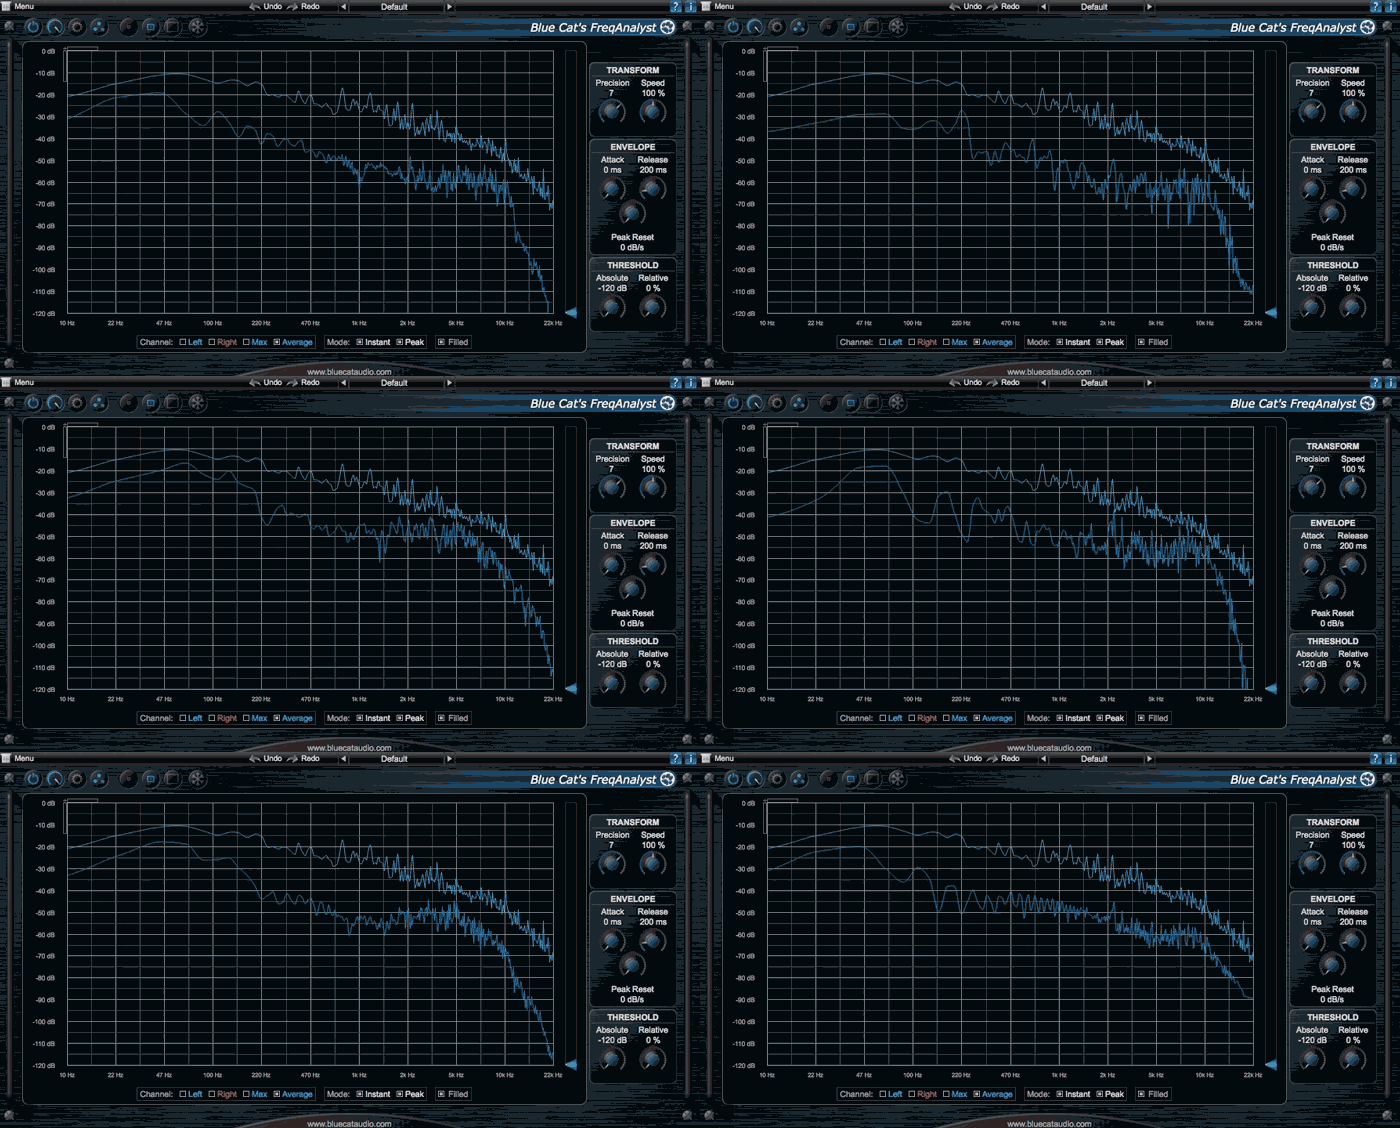
Not sure which frequencies are where? No problem. Throw a frequency analyzer onto your mix and figure out which sounds are sharing the same space. Then pan accordingly.
Balancing The Image
No one likes a lopsided mix. It just won’t sound good. So keep your mix balanced.
If you stack everything up on the right with nothing on the left your mix will sound fatiguing and confusing to the ear.
A good rule of thumb is to keep an equal amount of elements on each side. Try to see your mix in pairs and balance one element with another.
Check Your Pans in the Cans
Check your pans on headphones. Monitors will give you an idea of how your pans are sitting. But any sound in an open room will leak into both ears.
The only way to be sure about your pans is to check ’em on the headphones. Do some active listening and try to hear each part independent from the rest of your mix.
Get a sense of where each part is and try to see your mix as an entire sonic image.
Automate Those Pans
Now that you’ve created some space in your mix, let some sound move around in it.
Automated panning will let certain sounds move across the stereo spectrum through out your track.
It works especially well on an ambient layer or subtle percussion. But experiment with it across your mix
Most DAW software has an automating function in the arrangement window. So get to know the function in your DAW and find the panning automation that works best for your sound.
Automated panning is great for music layering and getting sound with more movement.
The implied space that panning automation creates highlights all the width you’ve created in your mix.
Thoughts and Pans
These basics of panning will give you huge space in your mix.
Like all things in mixing, panning should be creative. So experiment with panning your mix and find what works best.
Learn the basics, but always bend them to your sound.

